ANNE TAYLOR GLAPION
  • Home
  • Paint
  • Paper
  • Clay
  • Artist
    • Blogs >
      • ArtBlog!
      • Brushing Up
    • Links
    • News
  • Home
  • Paint
  • Paper
  • Clay
  • Artist
    • Blogs >
      • ArtBlog!
      • Brushing Up
    • Links
    • News

Getting ready to glaze

3/31/2015

0 Comments

 
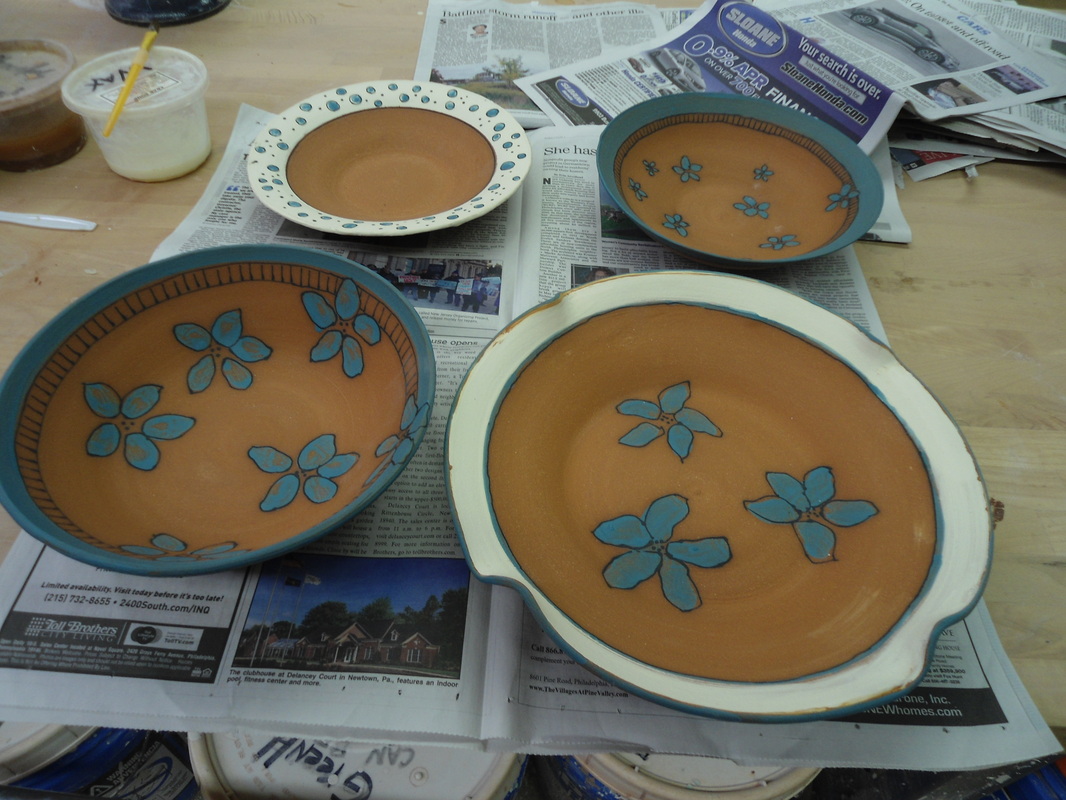
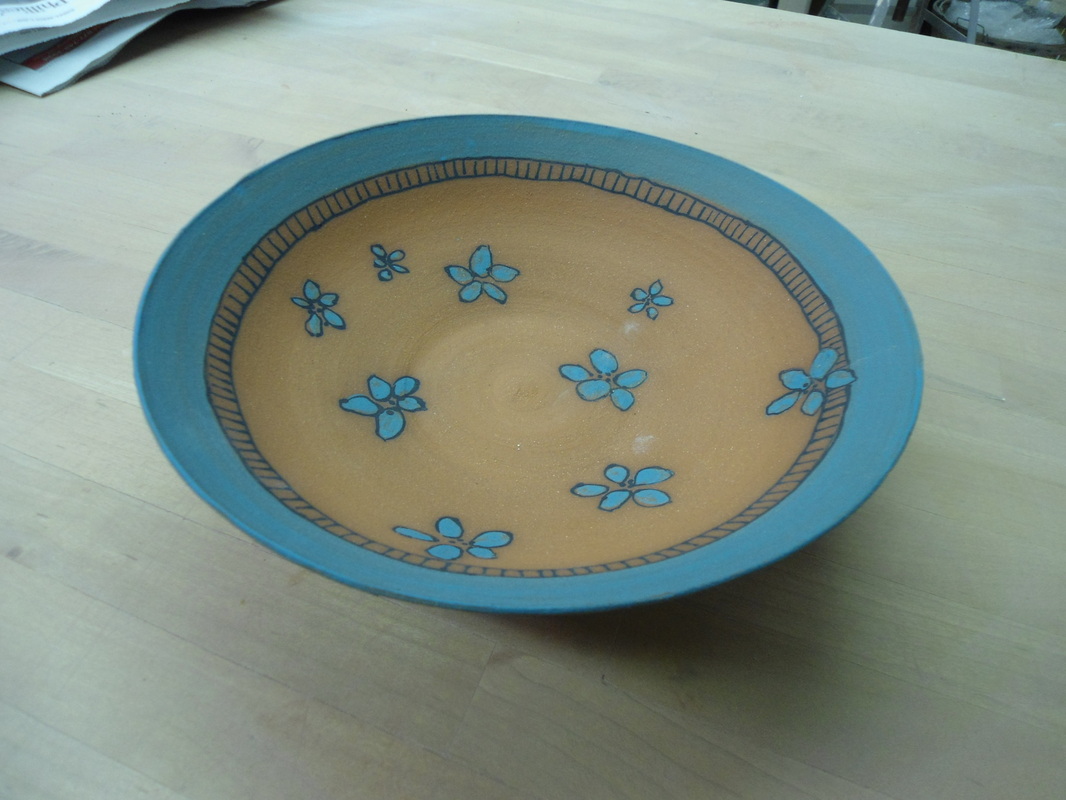
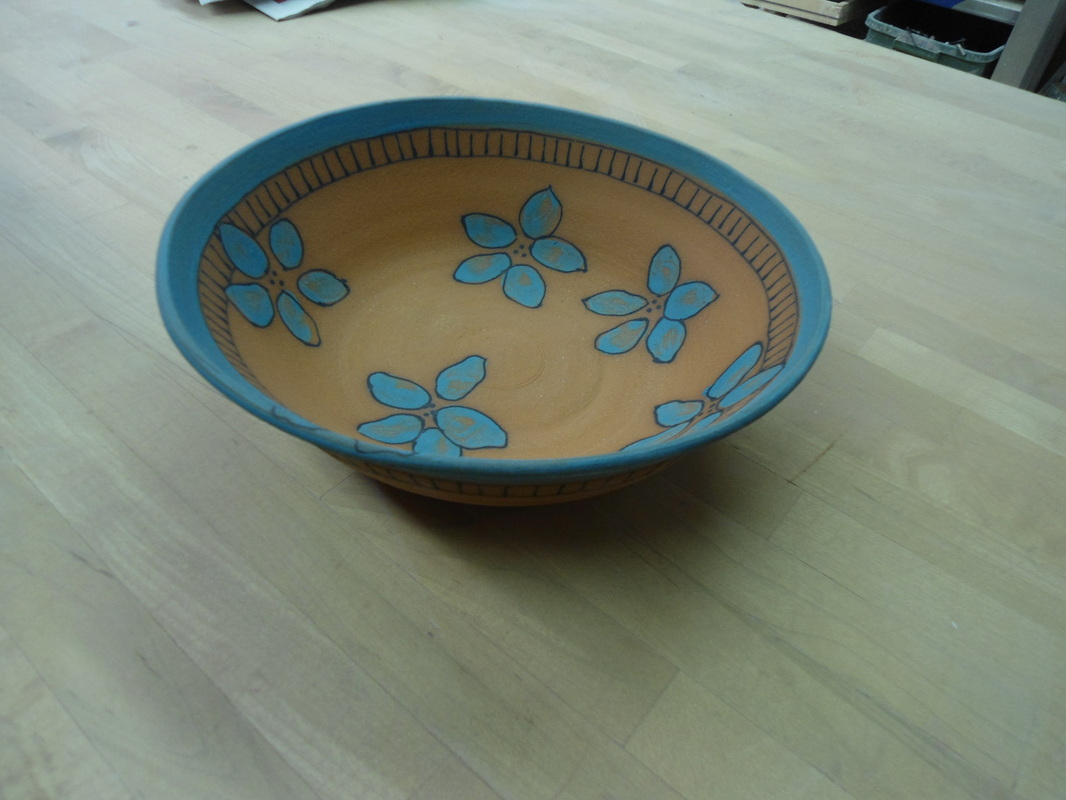
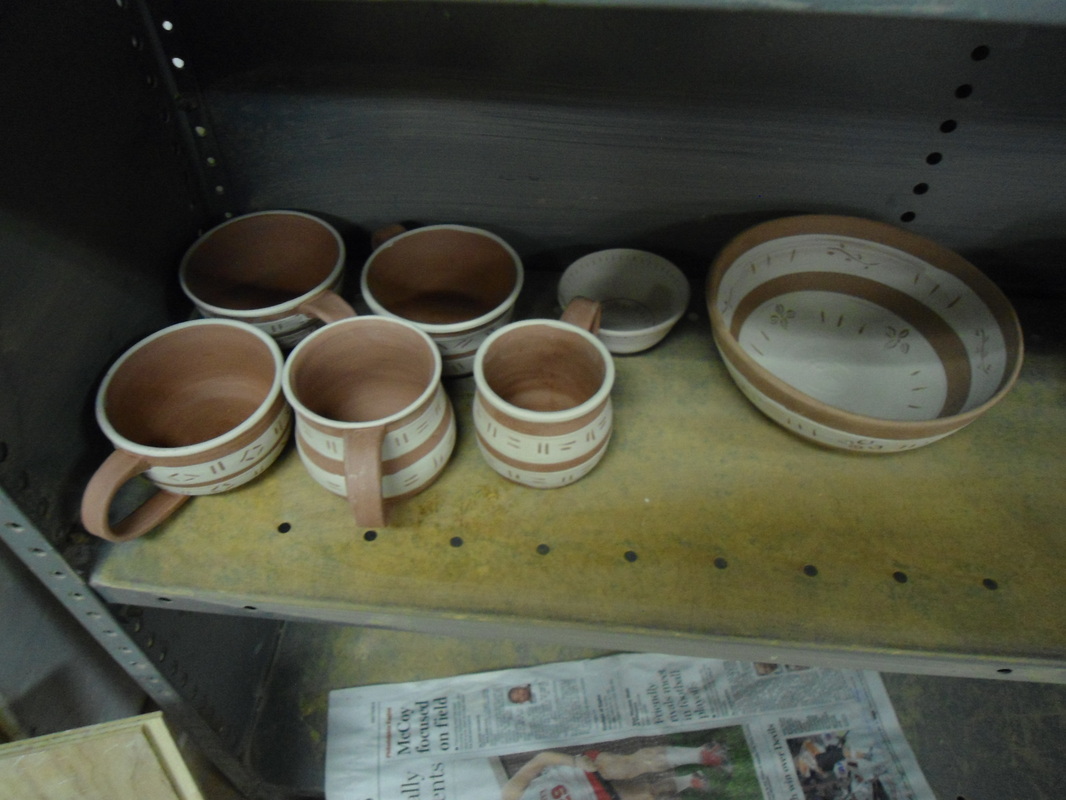
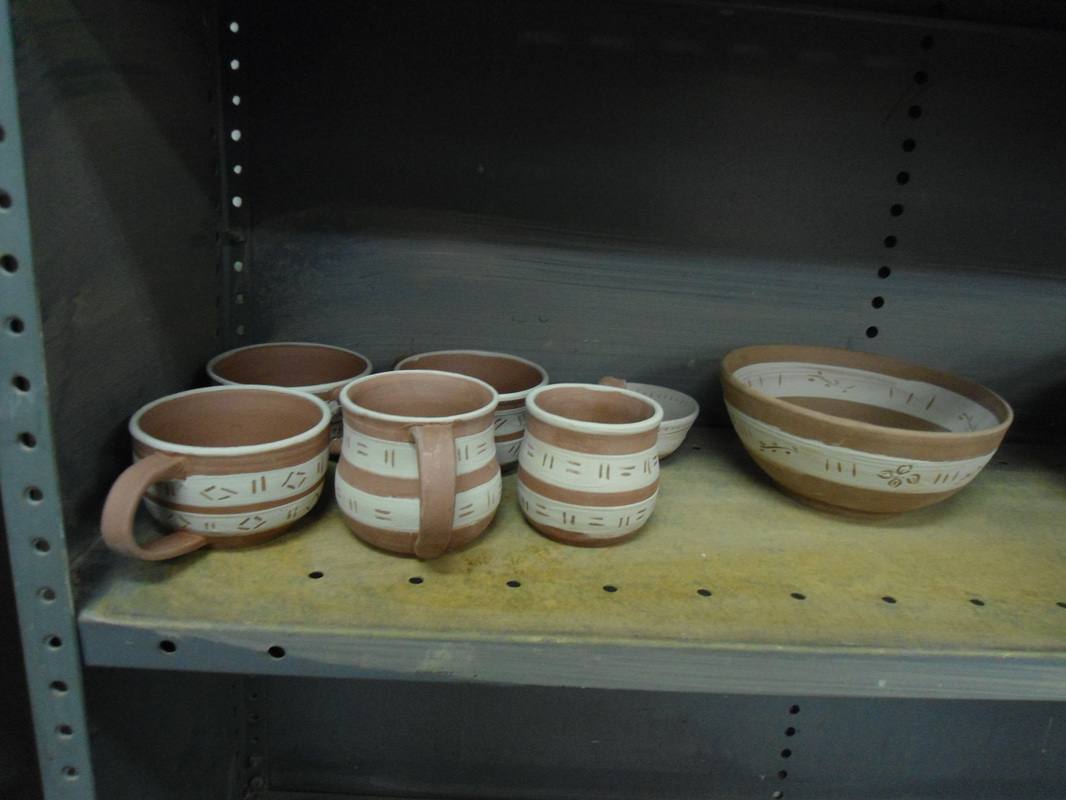
Some bowls made with Brooklyn Red clay bisqued and ready to glaze. 
0 Comments

Tue, Feb 10, 2015

2/10/2015

0 Comments

 
Pots going in the kiln. . .

Pots out of the kiln

Picture
0 Comments

Tea Set for a Little Princess

1/13/2015

0 Comments

 
Picture
Picture
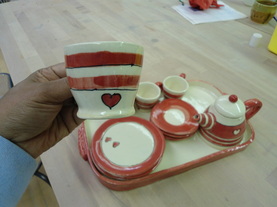
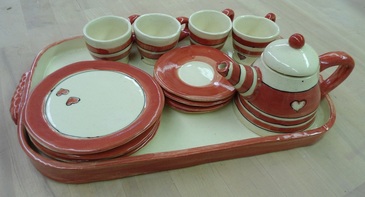
Just got this little tea set out of the kiln today.  It's a handbuilt set, painted with colored slip.  I wish I had one of these when I was a little girl.
0 Comments

Raku Firing in Corbin City

11/10/2014

0 Comments

 
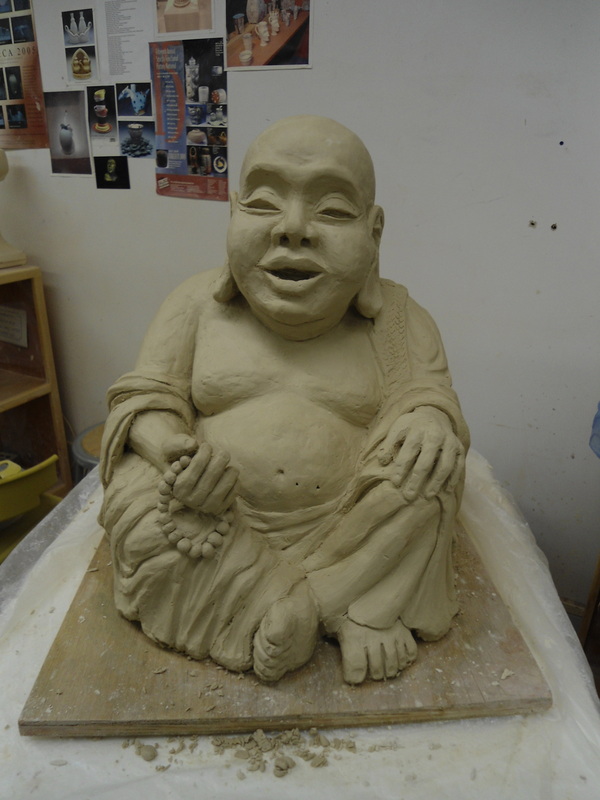
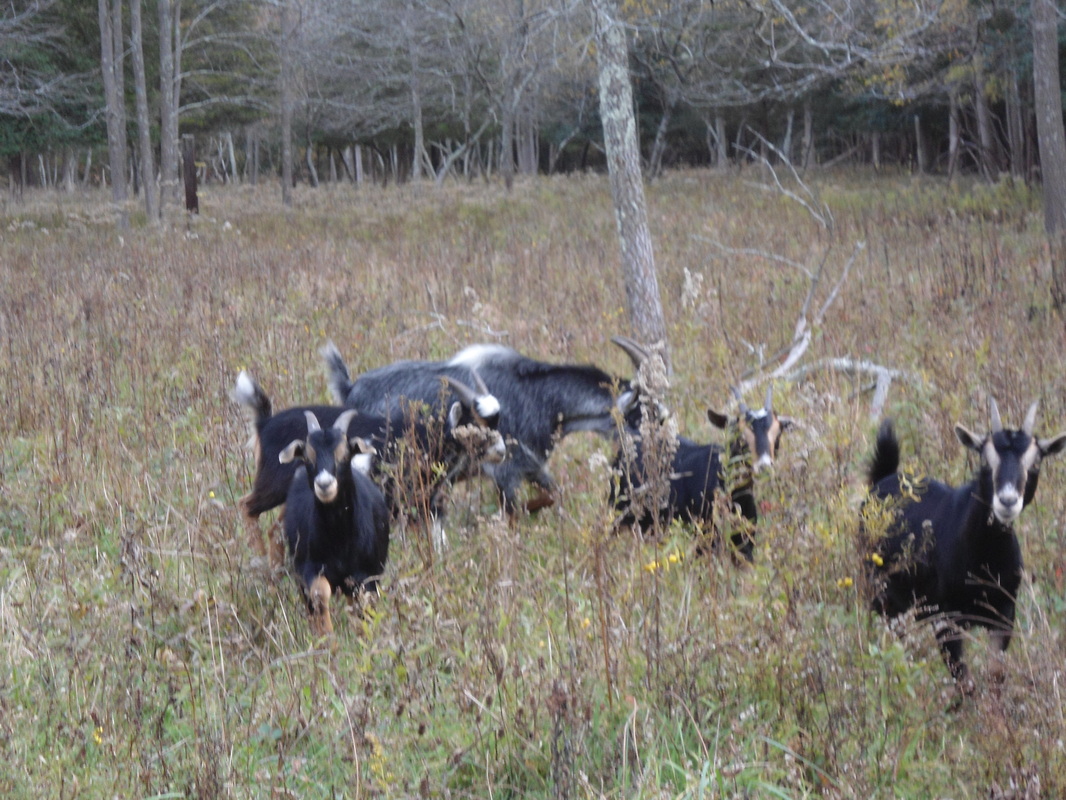
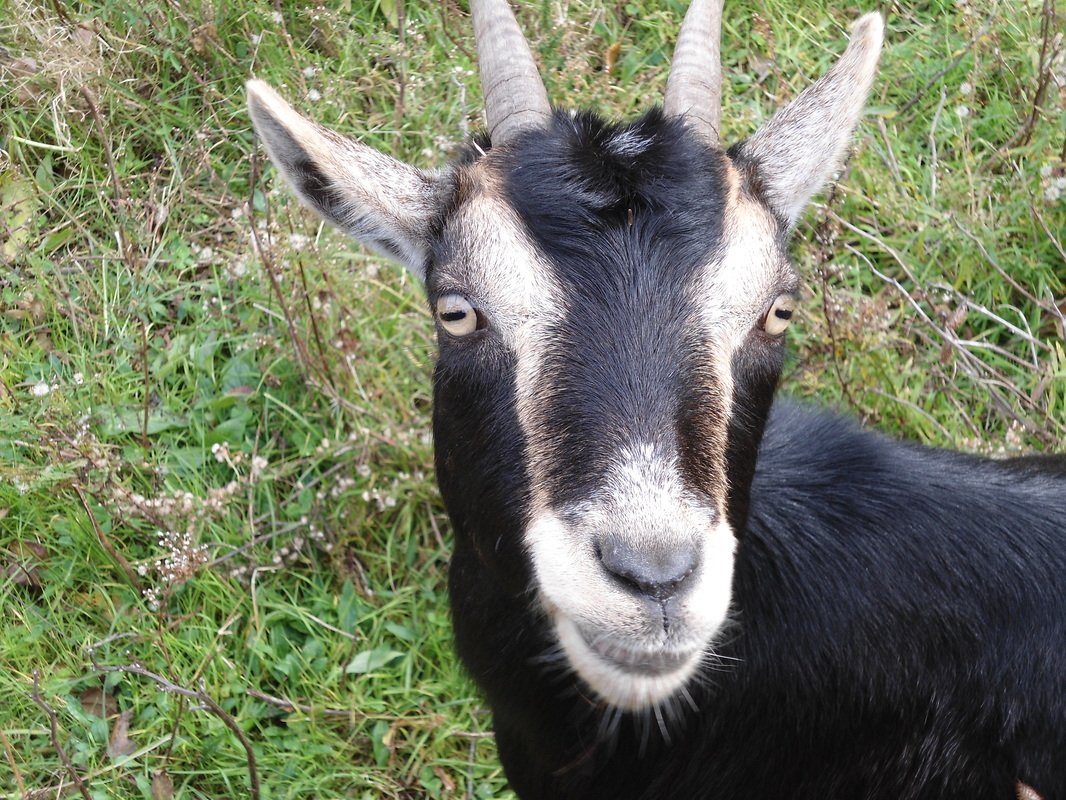
I spent the day yesterday at the home of Debbie and Joe Daley learning about raku firing.  What an education!  The day began at 10 am and didn't end until 5:30.  I left tired and semi-pleased with my results but more prepared for the next time.  The slide show below shows the steps we took to arrive at the finished pieces.  First, the kiln was loaded and fired up, then the pottery was removed from the kiln shelves with tongs and carried to a metal container lined with sawdust.  The heated clay body ignites the sawdust on contact and more sawdust is poured over the pot to encourage "flashing".  The container is covered quickly to limit the amount of smoke in the air.  After a short while, the pot is removed and put in a tub of water to cool and crackle, then it is washed off and the results are revealed.  There were good surprises and bad ones, but what a great day we had.  

The Daleys have seven goats who keep their field cleared.  Above, they pose for a few photos.
  
0 Comments

Buddha

11/8/2014

0 Comments

 
Picture
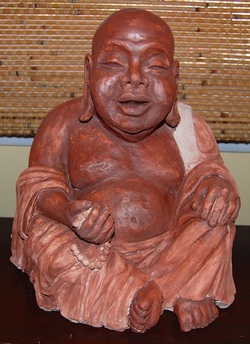
My Buddha is missing a few of his pearls.  They broke off in the kiln.  He's still a work in progress, but I'm posting his picture anyway.

0 Comments

A la Pierantozzi

10/31/2014

0 Comments

 
Picture
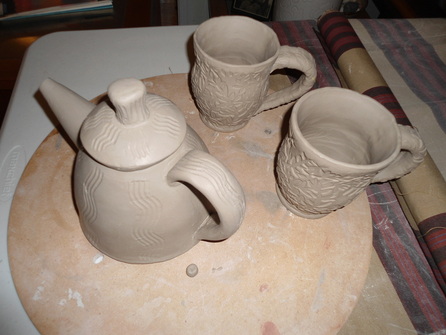
Recently, I went to a Sandi Pierantozzi/Neil Patterson workshop at the Clay College in Millville.  They really have good classes and workshops there and this one was a freebie.  The workshop was excellent and I left feeling inspired to do more handbuilding.  The teapot and cups above were made using Sandi's CircleMatic templates.  
0 Comments

Adventures in Pochadery

9/7/2014

0 Comments

 
Picture

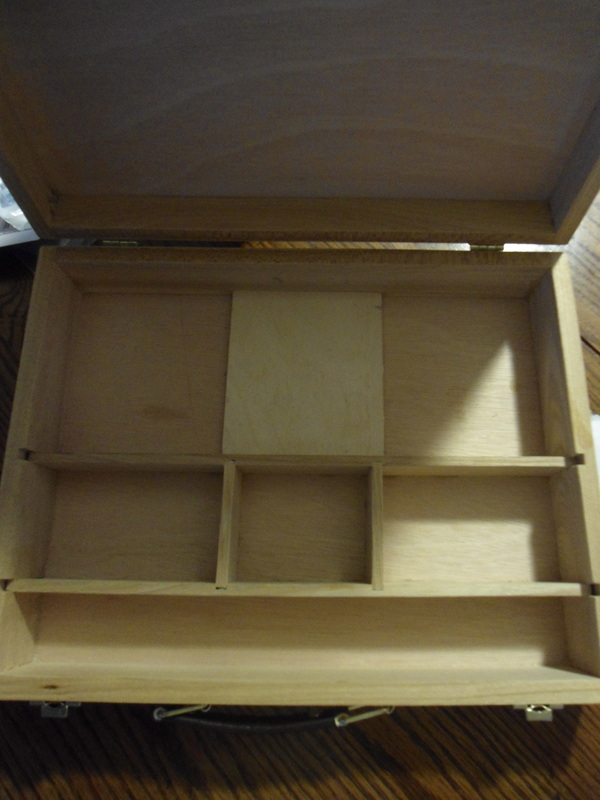
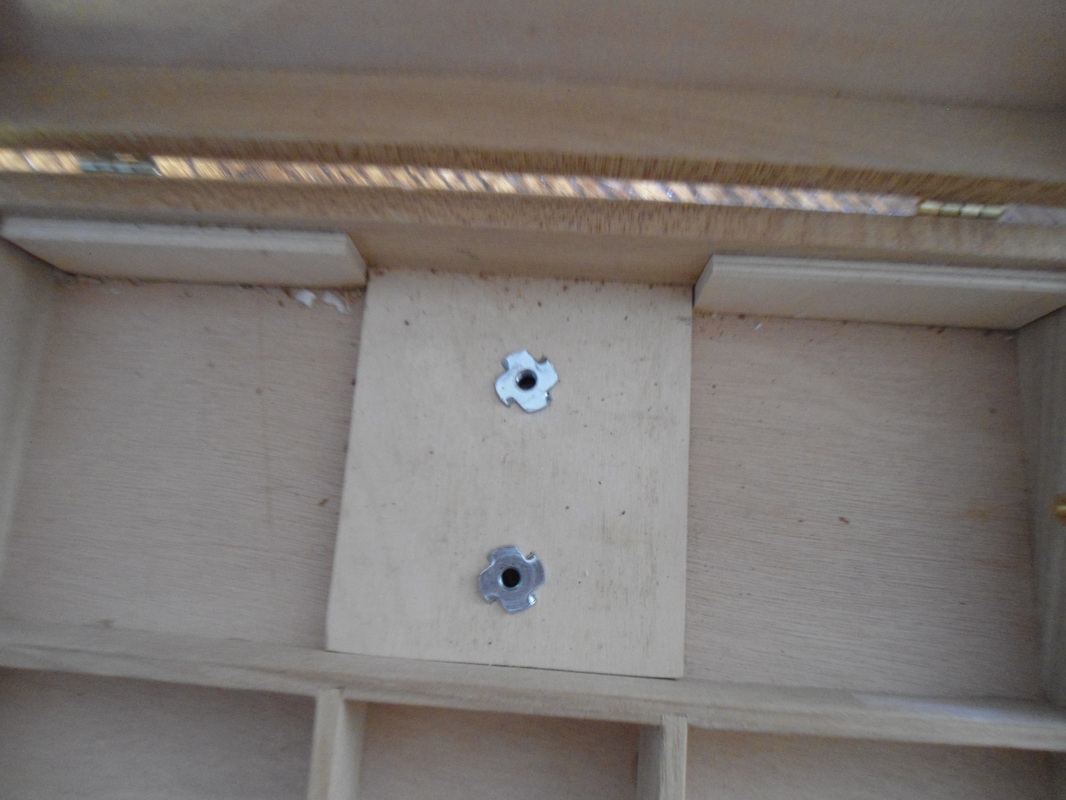
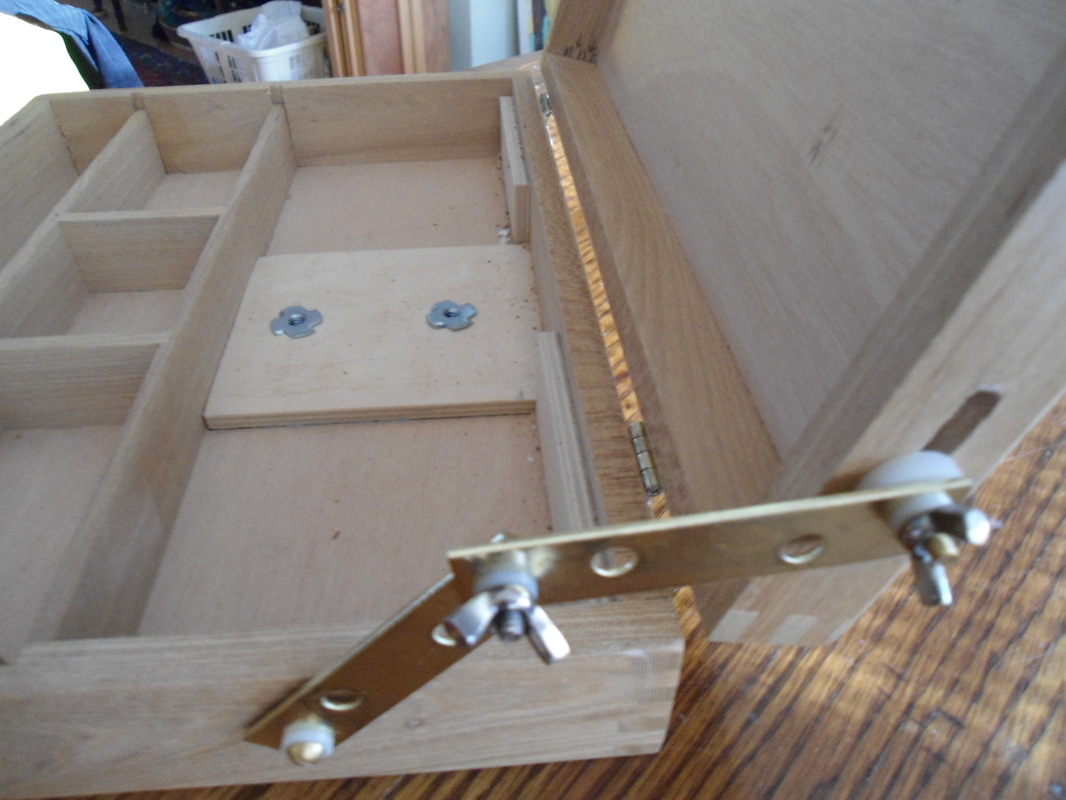
I'm making a pochade for painting outdoors.  A pochade lets you store your art materials in a box that, when opened, reveals an easel and palette area for painting and, when closed, secures paints, brushes and tools so you're ready to go at a moment's notice.  It can be held in the lap or mounted on a tripod.  These boxes cost quite a lot to buy but you can save a lot of money by making your own from scratch or out of a cigar box. After doing some research online, I decided to make one from a ready made sketchbox thinking it would be easier and sturdier than a cigar box and less of a hassle than building one.  My 11 3/4" x 9 3/4" box has storage for long brushes and dividers that will hopefully come in handy.

Preparing the box
The first thing I did was to modify the box by removing the part of the hinge that prevented the box from opening more than 90 degrees, then I reinforced the thin bottom of the box by glueing in a piece of wood to give it enough depth for the t-nut to be put in for the tripod connection.  I also cut and measured two pieces of wood equal to the height of the dividers  already built into the box and glued them to the rear wall so my palette could rest atop the the inner supports of the box.

The T-nut
I drilled my first hole about three inches from the back of the box and hammered the t-nut in from the outside of the box but when I put the box on the tripod it was wobbly.  I thought drilling a new hole closer to the rear wall would solve the problem but the box still wobbled on the tripod and I could see that the tnut was getting pulled out of the box by the stress of the poor connection so I removed the tnuts and hammered them in from the inside of the box.  This provided a much better connection.  No wobbling, no stress at the juncture.  (Note:  Only one hole is needed for the tripod connection.  I have two simply because I didn't know what I was doing.)

The side brace or hinge
I tried to find parts that were similar to what I had seen on mass manufactured pochades with no luck at all.  So, I fashioned a side brace from mending strips, screws, washers and wingnuts as I had seen on so many other pochades on the internet. 

To attach the brace, I drilled a hole in the side of the box which worked but the hinge extended beyond the box when it was closed, so I drilled another one.  Again, the result was unsatisfactory and I was pretty upset about messing up my pretty box with unnecessary holes.  Then I decided to cut a slot between the two holes which allowed for better movement of the hinge.  I used an exacto knife to do this and I think it looks pretty good.  This was more like what I wanted but I have to admit that my hinge solution is not perfect.  I'm just happy that it works since there weren't any inexpensive alternatives I could find at local stores or on the internet.

Now I'm working on the lid of the box where I'll place my artboard or canvas for painting.  I've already chipped out the block of wood you can see in the top of the lid in the second picture below.  Not sure of it's purpose but it was in my way so it had to go.  Hopefully, I will finish the box soon.  More later.


0 Comments

Geometric Precision

6/17/2014

0 Comments

 
We watched a demo by Ann Van Hoey at the Clay Studio in Philadelphia on Friday.  Her work is amazing.  This is a video I found that tells more about her.
0 Comments

Olive dishes--literally.

5/28/2014

0 Comments

 
Picture
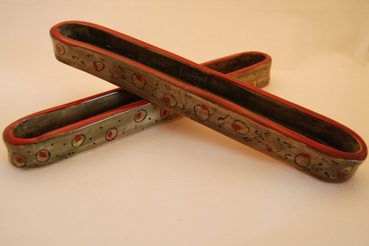
I got a few things out of the kiln recently. These painted olive dishes have a stylized olive pattern on the outside in -- what else -- olive green and pimento red.

0 Comments

Making Progress with the Buddha

1/22/2014

0 Comments

 
Picture
Picture
Picture
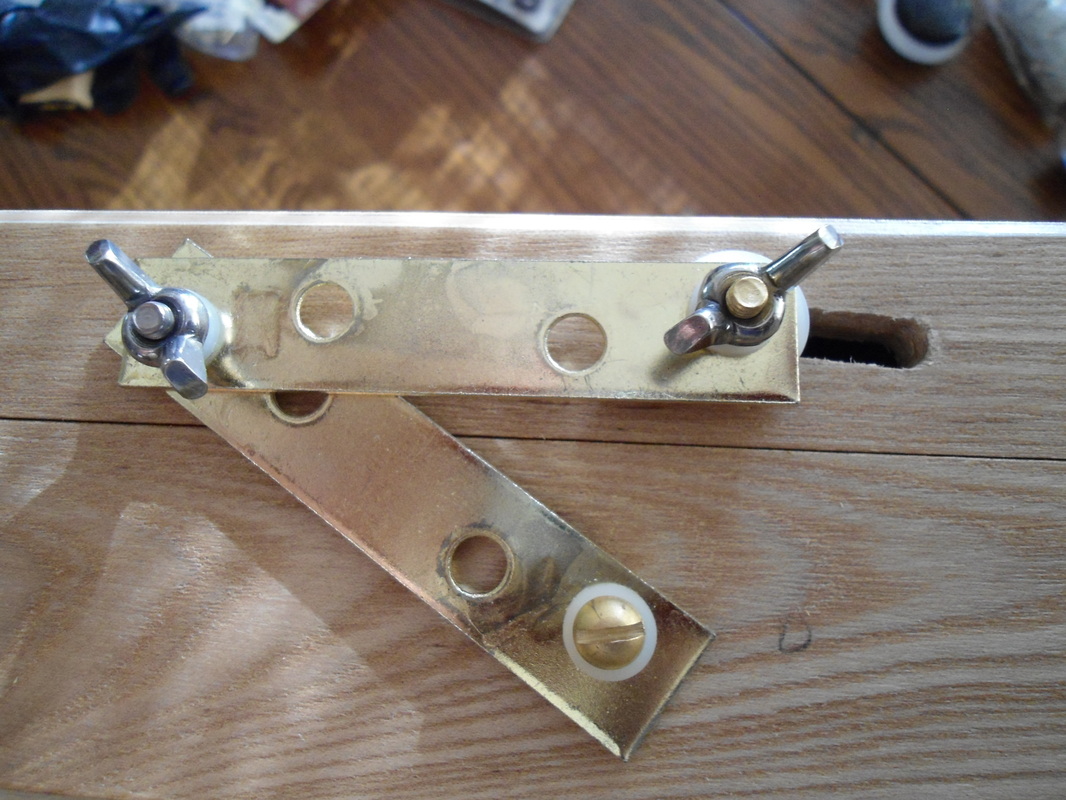
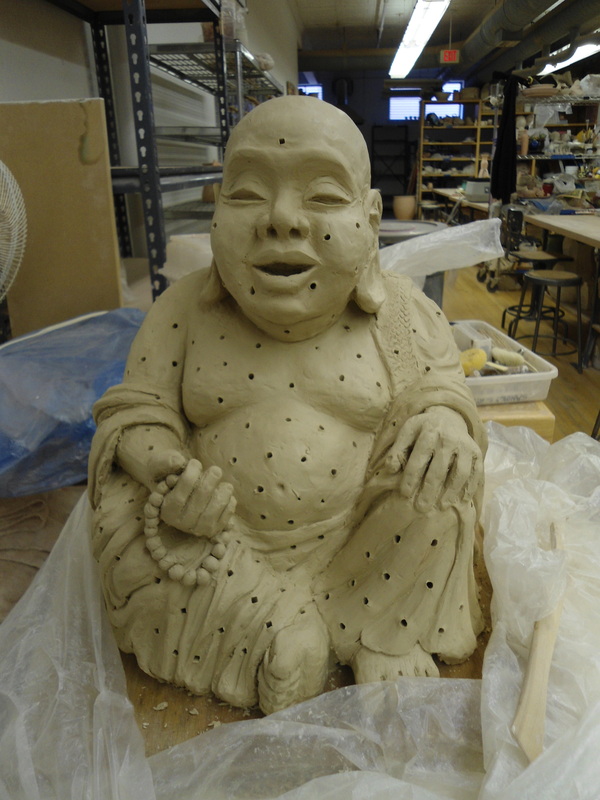
I've been working on my buddha.  He's almost done.  One of the final steps is to poke him full of holes so that he doesn't crack in the kiln.  I didn't think of taking a picture of him until I'd poked the first holes in his belly. The last shows the buddha's holes after I've started to smooth them away.  His proportions are  a little CeeLo Green-ish, but I think he'll be a good little buddha for someone if he survives the kiln.
0 Comments
<<Previous
Forward>>

    Enter your email address:

    Delivered by FeedBurner

    RSS Feed

    ArtBlog!

    Archives

    January 2018
    June 2017
    April 2017
    September 2016
    August 2016
    July 2016
    May 2016
    April 2016
    December 2015
    November 2015
    October 2015
    September 2015
    August 2015
    July 2015
    March 2015
    February 2015
    January 2015
    November 2014
    October 2014
    September 2014
    June 2014
    May 2014
    January 2014
    December 2013
    November 2013
    October 2013
    September 2013
    August 2013
    July 2013
    June 2013
    April 2013
    March 2013
    January 2013
    November 2012
    October 2012
    September 2012
    August 2012
    July 2012
    May 2012
    April 2012
    March 2012
    February 2012
    January 2012
    December 2011
    November 2011
    October 2011
    September 2011

    Categories

    All

All images copyright Anne Taylor Glapion no reproduction allowed without written permission.  
Picture